Restoring wood floors is a multi-step process that requires careful attention at all stages.
At Adorable Floors, we have put together this simple explanation of what you can expect when you get your floors restored. It will give you an insight into how we can improve the appearance of your floors, and fix blemishes to give you a beautiful finish.
The first part of the process is to clear the floor of any debris and to ensure all furnishings are safely stowed away.
We punch all nails to reduce damage to the machines and sanding belts, and remove existing staples from the floor.
Next, we assess the floor to determine if the floor needs leveling. If this is the case, part of the sanding process is adjusted to level out any highs and lows.
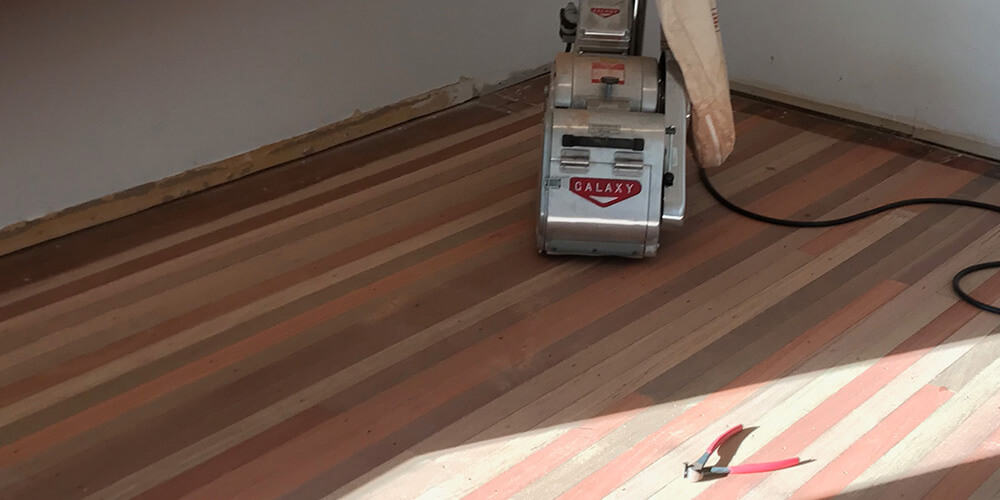
If the existing floor is relatively level, then this process is not required, and we can commence with the first cut. This will run parallel with the direction of the boards using a coarse paper belt.
After the first cuts have been made, the next step is to sand the edges that the larger machines cannot access using a smaller device. We take special care to blend the edges in with the first sand of the larger machine.
Now that the floor is level and the first sand of the boards is complete, we must carefully remove all leftover dust and debris. This is to allow all the nails and butt joins to be filled with a putty that is similar to the existing floor colour.
Once the putty has set and all the nail holes and joins have been filled, the sanding process continues. We gradually work our way up from a coarse paper to a finer finishing paper.
Upon completion of the previous steps and once the final sand has been completed with a fine paper (ensuring the edges have again been blended in), we can then move on to scraping out the corners and finishing the final sanding. This is done with a lighter machine to lightly smooth any remaining imperfections.
When we have completed the sanding processes, the floor and rooms are vacuumed carefully to ensure all foreign particles are removed so the coatings process can begin.
Depending on the floor product chosen by the client, whether it be a polyurethane based product, water-based or an oil finish, the first coat applied is a floor sealant to seal and prepare the floor. This sealant is usually dry within an hour or so, which means we can quickly apply the second coat. The purpose of the second coat is to close up the sealer and work as a platform from which to build the remaining coats.
By the time the third and final coat is applied, the floor coating has a sufficient depth to protect the existing surface, while bringing out the natural textures in the timber.
So as you can see, the process is undertaken with great care and attention to detail. We use only the latest flooring machines to ensure you get a picture-perfect finish on your floor. For more information, get in touch with Adam today!